
Starting an artistic journey does not require an expensive studio setup or a wall full of supplies. It requires a few pencils, some paper, decent light, and the willingness to sit down for twenty minutes. I know because I started drawing at 66, and I am still working at the same dining room table.
How I Picked These Beginner Art Supplies
I am Gordon. I worked thirty-one years as a deckhand on the Halifax harbour ferries, mostly lines and ropes and calling out the stops. My wife gave me a tin of colored pencils the Christmas after I retired, and I have drawn at the dining room table most mornings since. My first walk into an art store felt like wandering into the wrong harbour. There were aisles of brushes, racks of canvas, shelves of mediums I could not pronounce, and a teenager behind the counter who assumed I knew what gesso was. I did not. I have made most of the beginner buying mistakes since then, including a leather-bound sketchbook I was too nervous to open for two weeks and a thirty-pencil tin I could have replaced with four.
This list comes from what I actually use. I am writing for beginners over 60 who want simple, affordable art supplies that are easy on stiff hands and cramped tables. My honest short list up front: a few graphite pencils, a sketchbook, a good eraser, a small set of colored pencils, and decent light. A watercolor set and grip aids are helpful extras once you know you enjoy sitting down to draw.
When I weigh up whether a tool earns its spot, I think about a few things:
-
Comfort for older hands. Big barrels, soft leads, not much squeezing or scrubbing needed.
-
Low learning curve. Tools that behave predictably and forgive mistakes.
-
Availability and price. Things you can find in most stationery or big-box shops in 2026 without spending a pension cheque, and that fit in one shoebox or drawer.
-
Versatility and paper friendliness. Items that work across several simple projects and do not chew through ordinary sketchbook paper.
-
Enjoyment. Tools that feel pleasant to use so practice becomes a small daily pleasure.
Focusing on versatile, budget-friendly essentials allows for experimentation without regret. You do not need everything on the market, just a modest starter kit.
Best 7 Beginner Art Supplies for Late Starter Artists
Instead of listing hundreds of gadgets, I narrowed it down to seven supplies that carried me through my first two years. Each section below covers what the supply is, why it matters for beginner artists, strengths, and a few honest drawbacks. Canvas or paper is essential for all art forms, so I start with the tools and then the surface to put them on.
1. Graphite Drawing Pencils (HB to 4B)
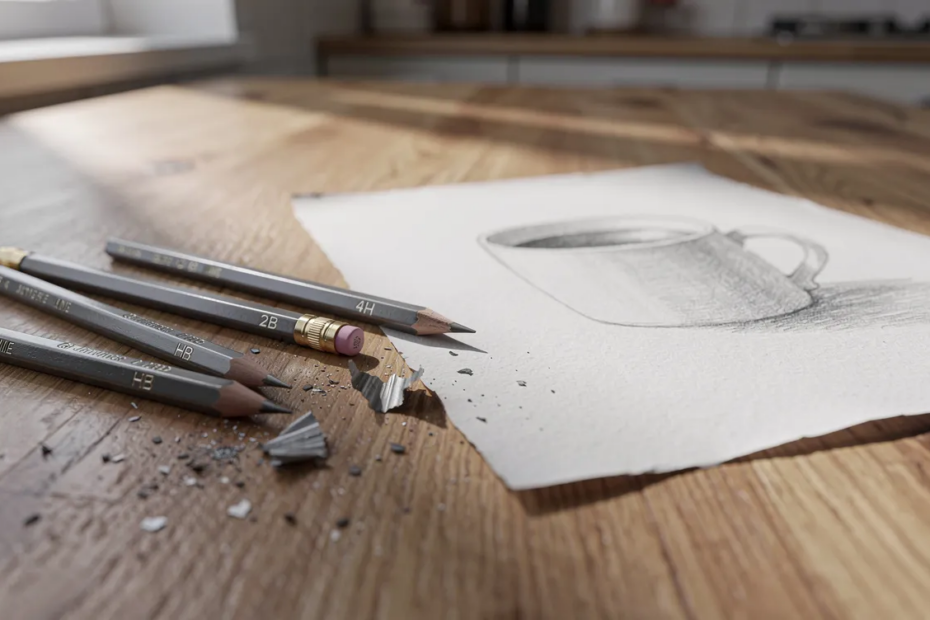
A small range of drawing pencils is the easiest entry point into sketching. Pencils are versatile tools for drawing and sketching, and a standard range of graphite pencils allows for different shades and depths on the page. I started with a cheap HB I found in a kitchen drawer and slowly added softer grades once I understood what they did.
Here is the plain version. The letters on a pencil tell you how hard or soft the lead is. H means hard and light. B means black and soft. HB sits in the middle, roughly equivalent to the school pencil you used decades ago. My trio is simple: HB for light outlines and first marks I expect to change, 2B for everyday drawing, and 4B for dark shadows and soft, smudgy lines. If you are curious how the H and B grading system came about, the Wikipedia article on pencils has a good summary of the history going back to the late 1700s.
I will admit I bought a thirty-pencil tin early on and used about four of them. Three good pencils teach you how pressure changes a line, which matters more than owning every grade. Use blending tools like a paper stump or even a fingertip to create smooth transitions in graphite drawings, and you will be surprised how much range three pencils give you.
Why They Stand Out
-
Cheap, forgiving and familiar to anyone who has held a school pencil. Easy to sharpen, erase and store in a mug.
-
Perfect for practice, value studies and quick kitchen-table sketches. HB, 2B and 4B are enough for the first months. Traditional pencils like these teach fundamentals of light, shadow and basic shapes without colour confusion.
Best For
-
Readers who have not drawn since school and fear “ruining” good paper, and anyone with arthritis or shaky hands who wants a slow, controllable medium.
-
People who like black-and-white photographs and want to sketch from old family photos.
Key Strengths
-
Very low cost and no setup or cleanup: just sharpen, draw and close the sketchbook.
-
Teaches light, shadow and basic shapes without colour confusion. Pencils provide a foundation for every other medium you might try later.
Possible Limitations
-
Monochrome only, which can feel dull if you are eager for colour.
-
Graphite smudges sleeves and tablecloths, and very cheap pencils scratch the paper.
2. A Mixed-Media Sketchbook You Are Not Afraid to “Mess Up”
My first sketch pad was a 7 x 10 inch spiral sketchbook bought in Halifax in early 2016, and it became my daily companion at the dining room table. My first mistake, though, was an expensive leather-bound book I was too nervous to draw in for two weeks. My advice: buy a plain, affordable sketchbook instead and give yourself permission to fill it with bad drawings.
Using a mixed-media or sketchbook is beneficial for practice without wasting expensive sheets. “Mixed media” in plain language means paper sturdy enough for pencil, colored pencils and a little gentle watercolor, with a slight tooth that grips the pencil. Mixed media sketchbooks usually have 90 to 110 lb paper, which is heavier than regular drawing paper at about 60 lbs but lighter than full watercolor paper. Smooth copier paper or regular printer paper gets shiny and stops taking color quickly, so it is worth the small step up. Prioritize quality paper for satisfactory results when using graphite and paints, because paper and surfaces vary based on the medium applied for optimal results.
Why It Stands Out
-
One decent sketchbook keeps all your practice in one place so you can see progress over months, and invites you to “do a page” rather than fuss with loose sheets.
-
Spiral binding lies flat and is easier for older hands. The paper handles small tea spills and light washes without buckling badly.
Best For
-
Retirees working on a small table who must pack up for meals, people who want to try several mediums, and anyone who likes date-stamping pages to watch a year of progress.
Key Strengths
-
One book replaces piles of printer paper and napkins, and decent paper weight reduces show-through and tearing when erasing.
-
Portable for parks, ferries and waiting rooms.
Possible Limitations
-
Mixed-media paper is a compromise and not ideal for heavy watercolor. Larger sizes can feel intimidating, so give yourself permission to fill the first book with bad drawings. Mine has lopsided teacups and a cat that looks like a loaf of bread, and I love every page.
-
Once it is full you need another, so budget for a yearly replacement.
3. Kneaded and Vinyl Erasers
I used to think erasers were only for mistakes, then discovered they are drawing tools too. Erasers are crucial for correcting mistakes in art, but a kneaded eraser can be shaped for precise corrections without damaging paper. That is a different thing entirely from scrubbing away a wrong line.
The soft grey kneaded eraser works by lifting graphite gently when you press it down, almost like blotting. The firm white vinyl eraser rubs away stubborn marks. Compared to other erasers, like gum or cheap pink rubber, these two cover everything a beginner needs.
Why They Stand Out
-
Kneaded erasers can be shaped with your fingers to pick out highlights, raindrops and hairs. They lift graphite gently without rubbing the paper or leaving crumbs, which suits small tables and clumsy fingers.
-
Vinyl erasers clean stubborn marks and big areas without shredding decent paper. Both are gentle enough for slow hands that do not want to scrub.
Best For
-
Beginners who fear “ruining” a drawing and feel better knowing they can back up a step, people shading faces and fruit where highlights matter, and anyone who presses hard by habit.
Key Strengths
-
Very inexpensive but dramatically improve drawings.
-
Let beginners “draw with light” by lifting graphite rather than only adding more dark.
Possible Limitations
-
Kneaded erasers need frequent stretching and folding, which some find fiddly.
-
Vinyl erasers can tear thin paper if you rush, and both wander off with the pencil shavings.
4. Student-Grade Coloured Pencil Set (24 to 36 Colours)
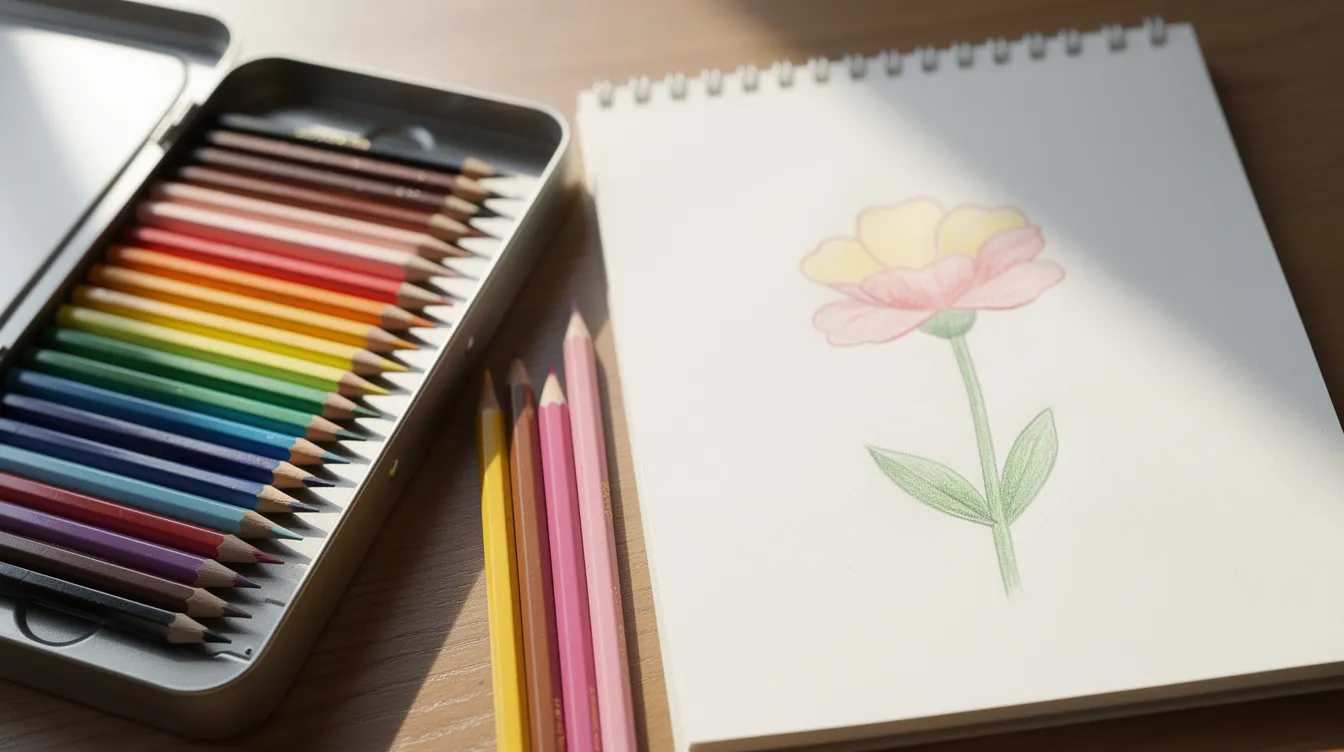
My wife gave me a tin of colored pencils the Christmas after I retired, and colour made drawing feel playful rather than serious. They are also tidy. You can pick them up for ten minutes between chores without any setup.
A modest student-grade set is enough, not the giant 120-tin. My own view is that twelve to twenty-four colors is plenty to learn mixing and layering. Color mixing is simplified when starting with a small set of primary colors, because you learn what blue and yellow do together before you buy a tube labeled “sap green.” Using student-grade materials is suitable for beginners to learn effectively. Student-grade supplies have lower pigment and higher fillers, which is why the colors are paler, but they are typically much cheaper than professional-grade. Professional-grade supplies are designed for artists selling their work, with a low filler-to-pigment ratio and high lightfastness crucial for archival display. For morning sketches at the kitchen table, student grade is fine.
Quality of the pencil matters more than count, because a cheap, waxy, pale set with a soft core that crumbles can make you think you are bad at colouring when the pencil is the problem. Prismacolor Premier pencils are highly recommended for beginners who want rich colour. Prismacolor Scholars are affordable student-grade colored pencils and a good middle step. Faber Castell Polychromos are oil-based colored pencils that hold a sharp point well, which some people with stiff hands prefer. If you want to know what to look for before buying a set, the Wikipedia entry on colored pencils gives a broader overview of wax-based and oil-based types. Before you spend money, it is worth taking a moment to choose good colored pencils by checking pigment and core quality rather than tin size. Once you have a feel for the basics, I walk through the details in how to pick colored pencils.
Why They Stand Out
-
Hard to spill, drip or stain clothing compared to paint, and layerable, so you can sneak up on a colour rather than mixing on a palette. Colored pencils offer more control than watercolors for beginners.
-
Comfortable for older hands, especially with slightly thicker barrels.
Best For
-
Readers who want gentle colour in garden flowers, nature sketches and landscapes, grandparents drawing alongside grandchildren, and people not ready to manage water, brushes and towels.
Key Strengths
-
Work well on the same sketchbook used for graphite, allow quiet, almost meditative sessions without setup, and cheap sets are widely available in 2026. Regular colored pencils are suitable for adding texture and exploring different techniques.
-
Money-saving tips: start with a mid-sized set and add single colors as you run out. Buy a white pencil and a good dark brown or black for blending and shading. Test colors on a scrap of sketchbook paper first.
Possible Limitations
-
Very cheap pencils are scratchy and pale, which can discourage beginners.
-
Layers can build to a waxy surface that is hard to change, and lightfastness is usually poor, so framed artwork may fade in strong sunlight over the years.
5. Small Watercolor Pan Set and Two Brushes
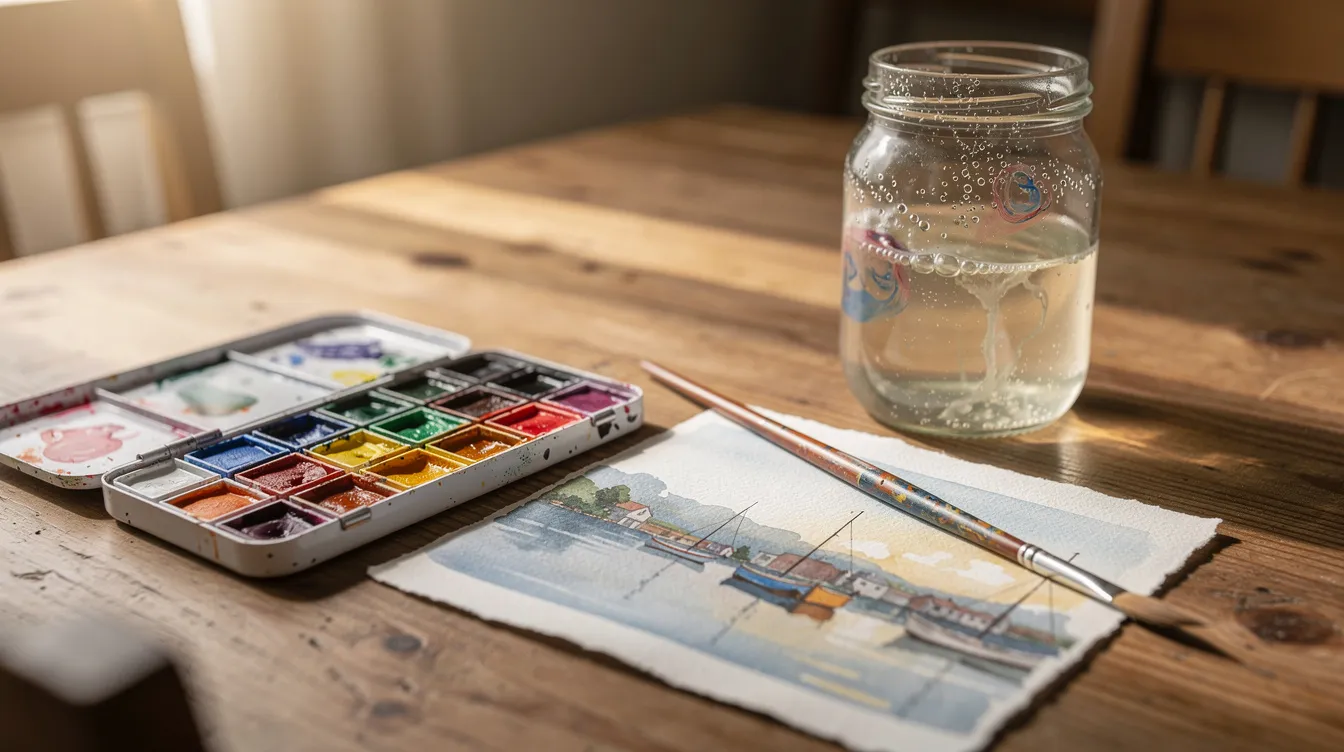
Around 2018 I tested a compact travel watercolor set and realised how little water and paint it takes to add life to a sketch. A dab of blue sky and a wash of green grass turned a pencil drawing into something I wanted to pin on the fridge.
A typical beginner setup is a 12-pan student set, one medium and one small round brush, and a simple plastic palette if the lid will not do. A good selection of paint for starting out includes a basic watercolor palette like this or a basic acrylic paint set, depending on your interest. Have a basic selection of brushes for watercolor and acrylic painting to allow for various techniques, because brushes allow precise application of paint and mediums in ways a sponge or finger cannot match.
My honest view: this is one to skip in your first couple of months. Add it later, once you are still enjoying drawing and get curious. Watercolor is forgiving and encourages experimentation for beginners, but it also asks you to think about paper weight. Cold-press watercolor paper is essential for using watercolors to prevent warping, and watercolor paper typically weighs around 140 lbs, which is heavier and more expensive than a mixed-media page. Cotton paper is more absorbent than wood pulp paper, giving vibrant colors and smoother washes. High-quality paper is essential for vibrant watercolor techniques, so if you do try watercolor, use at least a decent mixed-media page or, better, a sheet of proper watercolor paper.
Why It Stands Out
-
Tidy if you keep to small washes with a water jar and an old tea towel. Great for adding light colour over existing pencil lines. Watercolors are forgiving and encourage artistic exploration.
-
Easy to pause: close the palette and continue tomorrow.
Best For
-
Beginners who enjoy adult colouring books and want to try painting without oil or acrylic fumes, people drawn to loose illustrations of houses, boats and landscapes, and those with limited strength who prefer a light brush to heavy pencil pressure.
Key Strengths
-
Compact and travel-friendly, even on ferry trips. Pans last a long time and clean up with plain water.
Possible Limitations
-
Paper quality suddenly matters, since thin sketchbooks buckle easily, and paint can run past the lines until you get control.
-
Some older beginners are nervous about water near wooden tables.
6. Simple Sharpener and Soft Pencil Grip Aids
My favourite little hand sharpener has a metal, replaceable blade, and it cost about five dollars. Cheap plastic sharpeners chew the point and snap the lead, and a sharp point is half the fun of drawing. I switched to thicker soft grips once my knuckles started complaining in my early seventies, and drawing sessions doubled in comfort overnight.
A reliable sharpener and a few silicone or foam grips can mean the difference between a ten-minute sketch and a cramped, painful hand.
Why They Stand Out
-
Good sharpening gives clean lines and makes even cheap pencils feel better.
-
Grip aids enlarge the barrel and ease tension in arthritic fingers. Both tools are small and inexpensive.
Best For
-
Anyone with arthritis, carpal tunnel or less strength than at 40, beginners who grip too tightly from school habits, and daily sketchers who want to avoid building soreness.
Key Strengths
-
Very low cost with a big comfort payoff, fit any standard graphite or colored pencil, and reduce broken leads.
Possible Limitations
-
Electric sharpeners are noisy and can over-sharpen soft leads.
-
Grip aids take fiddling to slide on and off, and cheap sharpeners dull quickly.
7. A Basic Desk Lamp for Evening Drawing
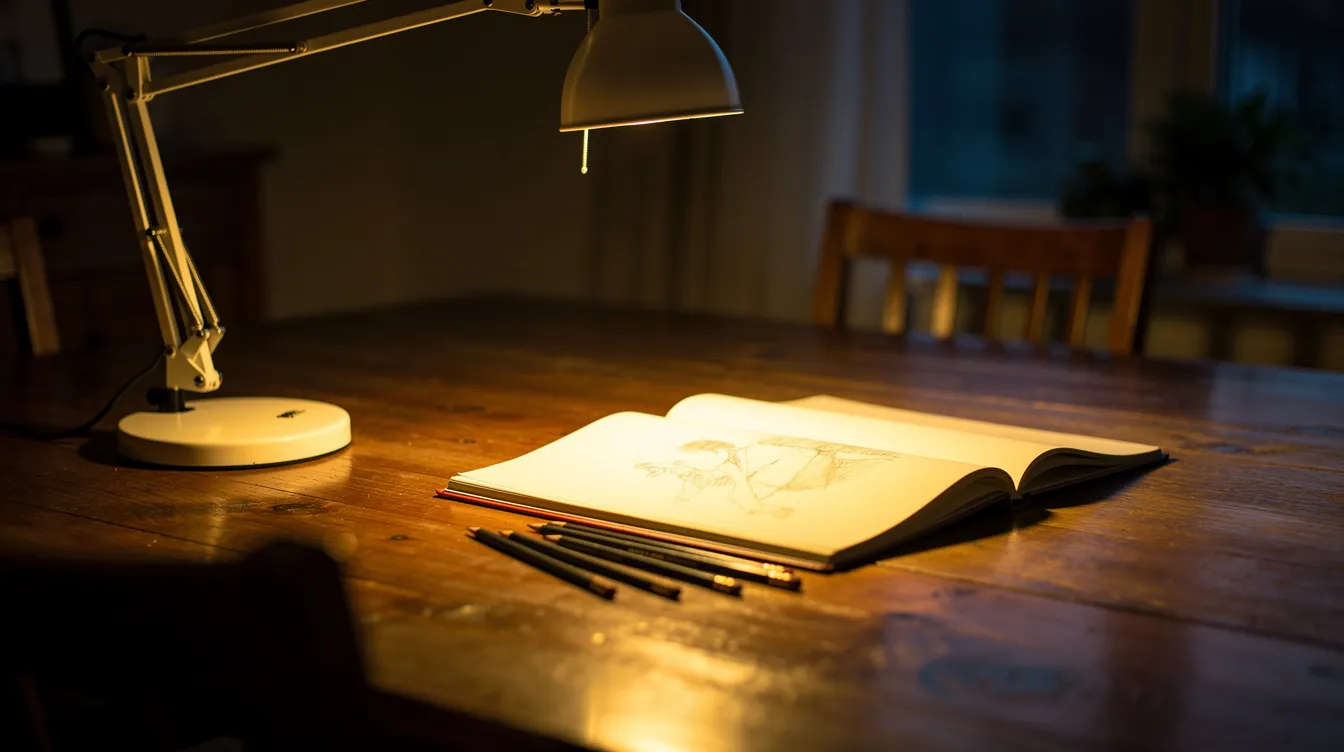
Drawing at the dining room table in Halifax winters means it is dark by late afternoon. After years on the water I assumed I knew about light, but drawing taught me otherwise. In a dim corner I could not tell a 2B line from a 4B, and good light made my drawings look better overnight without a single new pencil.
The ideal lamp for older eyes has an adjustable neck, a bright but soft neutral white bulb, and sits on the side opposite your drawing hand so it casts no shadow on the page. Natural light from a window on that side works too during the day.
Why It Stands Out
-
Good light is an art supply in its own right, especially after 60, and it is the one thing I would never tell a beginner to skip.
-
Reduces eye strain and turns the table into a small, welcoming studio corner.
Best For
-
Anyone who only has time or energy to draw after supper, shared spaces where you cannot change ceiling fixtures, and readers who already squint at puzzles or knitting.
Key Strengths
-
A small one-time purchase that supports every medium, makes colors look truer, and has a simple on/off switch friendly to tired hands.
Possible Limitations
-
Takes space on a crowded table, and cord placement can be a tripping hazard.
-
Very cheap lamps may flicker or give harsh, cold light.
Quick Comparison of These Beginner Art Supplies
Here is a fast overview for choosing where to start if money or space is limited. Before you shop, here is a longer list of things I would skip at first: big boxed “master sets,” easels and drawing boards (a table and a book work fine), fancy blending tools and fixatives.
-
Graphite pencils and erasers: best for absolute beginners who want to practise quietly and like the safety net of reversing mistakes.
-
Mixed-media sketchbook: best for anyone who wants all their practice in one book and plans to try several mediums.
-
Colored pencils and watercolor set: colored pencils for people eager for vibrant colors but not ready for wet paint; watercolor for gentle, transparent colour over drawings.
-
Sharpener with soft grips, and desk lamp: best for older hands that cramp, evening sketchers, and anyone with less-than-perfect eyesight.
A few words on other art supplies beginners sometimes ask about. Acrylic paints are opaque and can easily cover mistakes, which makes them beginner-friendly, and acrylics can be cleaned with water. They do need a canvas or heavier paper and more space for drying, so I personally find them better suited once you have a permanent corner. Gel pens and fineliner pens are fun for line work and craft projects but do not erase. Colored markers provide vibrant colors for artwork and markers provide immediate results, making them beginner-friendly. Alcohol markers allow for layering without damaging paper and are known for their vibrant colors and blending ability. Markers come in bullet, chisel, and brush nib types, each serving a specific purpose. Colored markers are user-friendly for beginners who want immediate, bold results. Alcohol inks are versatile and produce unique effects for beginners, with vibrant colors and unique effects on smooth paper or other mediums. They are compatible with various surfaces and other art supplies, and alcohol inks allow artists to explore different techniques and textures. These are all worth exploring later, but none of them are must have art supplies on day one. Paints enable artists to work in different forms of expression, but choosing one medium to start with helps keep the process manageable for beginners.
How to Choose the Right Beginner Art Supplies for You
There is no single “correct” starter kit. Choice should follow your body, space and temperament. I suggest upgrading one thing at a time later, buying the item you keep wishing you had rather than the one that looks best in the shop window. Experimenting with different mediums can help identify personal artistic preferences over the months ahead.
Choose Based on Your Hands and Eyes
Physical comfort comes first for older beginners, because pain and strain will stop practice faster than anything. If gripping is difficult, prioritise thicker pencils, grip aids and softer leads over heavy brushwork. Keep sessions short with rests. Drawing skills build with gentle repetition, not marathon efforts.
If eyesight is the main issue, buy a decent desk lamp before extra colors. Good light improves your drawing more than any single tool in the box.
Choose Based on Your Space and Storage
I work at a shared dining table and pack everything into a shoebox before supper. If you must pack away nightly, favour a single sketchbook, pencils, erasers and a small tin of colored pencils, kept in a shoebox, basket or toolbox.
If you have a permanent corner desk, you can comfortably add watercolor and a table lamp without worrying about the setup and cleanup time.
Choose Based on Your Patience and Personality
Some people like slow, careful detail. Others want loose colour and happy accidents. If you enjoy puzzles and crosswords, you may prefer the steady control of graphite and colored pencils. If you enjoy gardening or watching the sea, you may like the loose unpredictability of watercolor, which encourages a style of exploration and allowing artists to let go of tight control.
It is fine to start with only one medium for the first three to six months. There is no extra cost to patience.
Which Supplies Are Best for You Right Now?
You do not need the full list on day one. Here is a simple way to decide:
-
Choose graphite pencils, erasers and a sketchbook if you want the simplest, cheapest kit to see whether drawing suits you.
-
Choose graphite plus colored pencils if colour matters to your enjoyment but you want to avoid water and mess.
-
Choose graphite, sketchbook, small watercolor set and lamp if you are fairly sure art will be a regular hobby and you enjoy gentle experiment.
-
Choose grip aids and a good lamp first if arthritis or poor light is stopping you from doing any creative work.
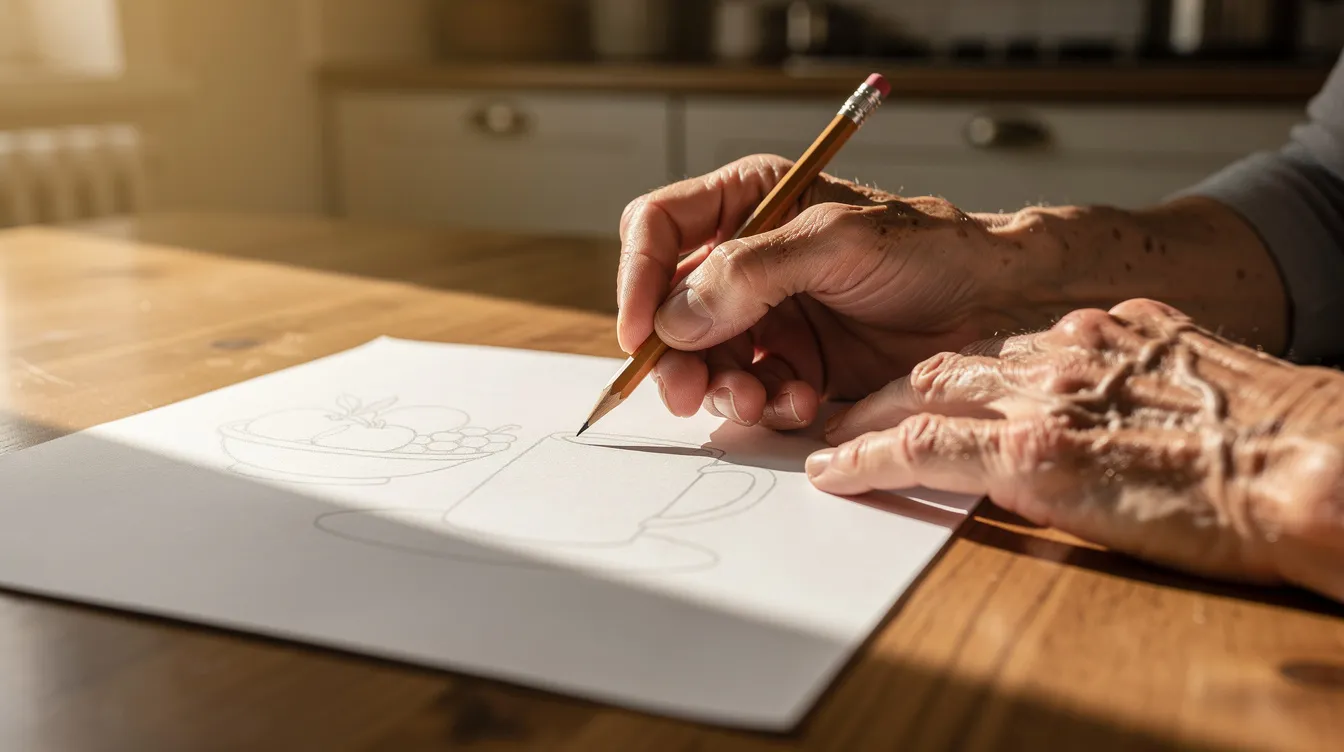
Here is a simple first week to try. Fill a page with lines, curves and circles using each pencil. Draw a mug or apple slowly for fifteen minutes. Shade a ball with the 2B to practise hand eye coordination between what you see and what your fingers do. Layer two colored pencils to see the new colour appear. Then draw whatever is in front of you by the window without erasing. Resist starting with a grand portrait. That kind of artistic expression comes with time, and the creative visions will follow naturally once you have some materials under your fingers.
Starting small is perfectly respectable at 60, 70 or 80, and supplies can grow with confidence. Your artistic journey begins with whatever you pick up this week, not with whatever you save for later.
Final Thoughts
The best basic art supplies are the ones you will actually use this week, not the fanciest set in the cupboard. I started with one pencil and a cheap pad and now have a small, well-loved kit that fits in a shoebox. It is not much to look at, but it holds everything I need for a quiet morning of drawing and a bit of inspiration to keep going.
Pick one or two items from this list, clear a bit of table space, and give yourself permission to make wobbly, imperfect lines. If you want to know why I draw and what this blog is about, my Welcome Aboard page tells the whole story. At Late Starter Art the whole point is quiet enjoyment, not perfection or selling anything. Pull up a chair.
FAQ
How much should I spend on beginners art supplies?
A modest budget covers three graphite pencils, a sketchbook, two erasers, a sharpener and a small colored pencil set. You can put together essential art supplies for well under eighty dollars. Spend a little more on the colored pencils and sketchbook, and keep the rest simple. A budget friendly approach is smarter than buying everything at once.
Do I need expensive paper to start?
No. A reasonably priced mixed-media sketchbook with a bit of texture is perfect for dry tools and light washes. Regular paper or regular printer paper works in a pinch for quick warm-up sketches, but it will not hold up to heavier work. Save special watercolor paper until you know what sort of painting you enjoy.
Should I buy a big set or a small one?
Small. Twelve to twenty-four colored pencils is enough to learn mixing, layering and many colors you did not expect. You can add single colours later without the extra cost of a giant tin. An excellent choice is a mid-range student set with a matte finish and decent pigment, rather than a box of a hundred pale sticks.
Is it too late to start drawing at my age?
I started at 66, so I am hardly the person to say yes. A few pencils, some paper and a bit of morning time are all it takes. The learning curve is gentle with the right tools, and life has given you plenty to draw.
What is the one thing I should not skip?
Good light. A decent lamp or a seat by a window will improve your drawing more than almost any pencil you could buy. It is the one piece of art supplies for beginners that nobody thinks of as a supply at all, but it changes everything.